Motion-tracking animation and computer-generated images are the staples of modern animation.
Although you can’t match a Hollywood film budget, you can make it look that way with proper animation.
Thanks to Vtube and Streamlabs, I have an animated avatar on YouTube. It replaces me on camera, because I’m honestly not much to look at and I’m lazy with set design and appearances.
But there’s an answer in cartoons – by creating an avatar, I can streamline a lot of my content creation for a fraction of the budget it costs to produce live videos.
Here’s how I made the transition from live action to animation to save a fortune while producing professional quality content.
How animation makes UHD videos possible for cheap

If you ever tried making a professional quality video, you’re aware it’s not cheap. You need expensive video equipment to get started, and a webcam simply won’t cut it.
A $500 DSLR camera is the bare minimum baseline for vlogging, and you’re still competing with Hollywood, Silicon Valley, and everyone else for attention. That minimum bar is tangibly lower quality on all devices than their professional cinematic cameras that cost $10k+
The only way to get dazzling visuals on a budget is through animation. Programs exist these days that can do amazing animation. I’m still in the starting phases, but I’m documenting everything because I found it difficult to navigate myself.
Much of the animation is based on manga, anime, or kawaii. This is because the animation technique took off in Japan first over the past decade. A lot of the resources are in Japanese, so I figured I could lend a hand in the American English translations.
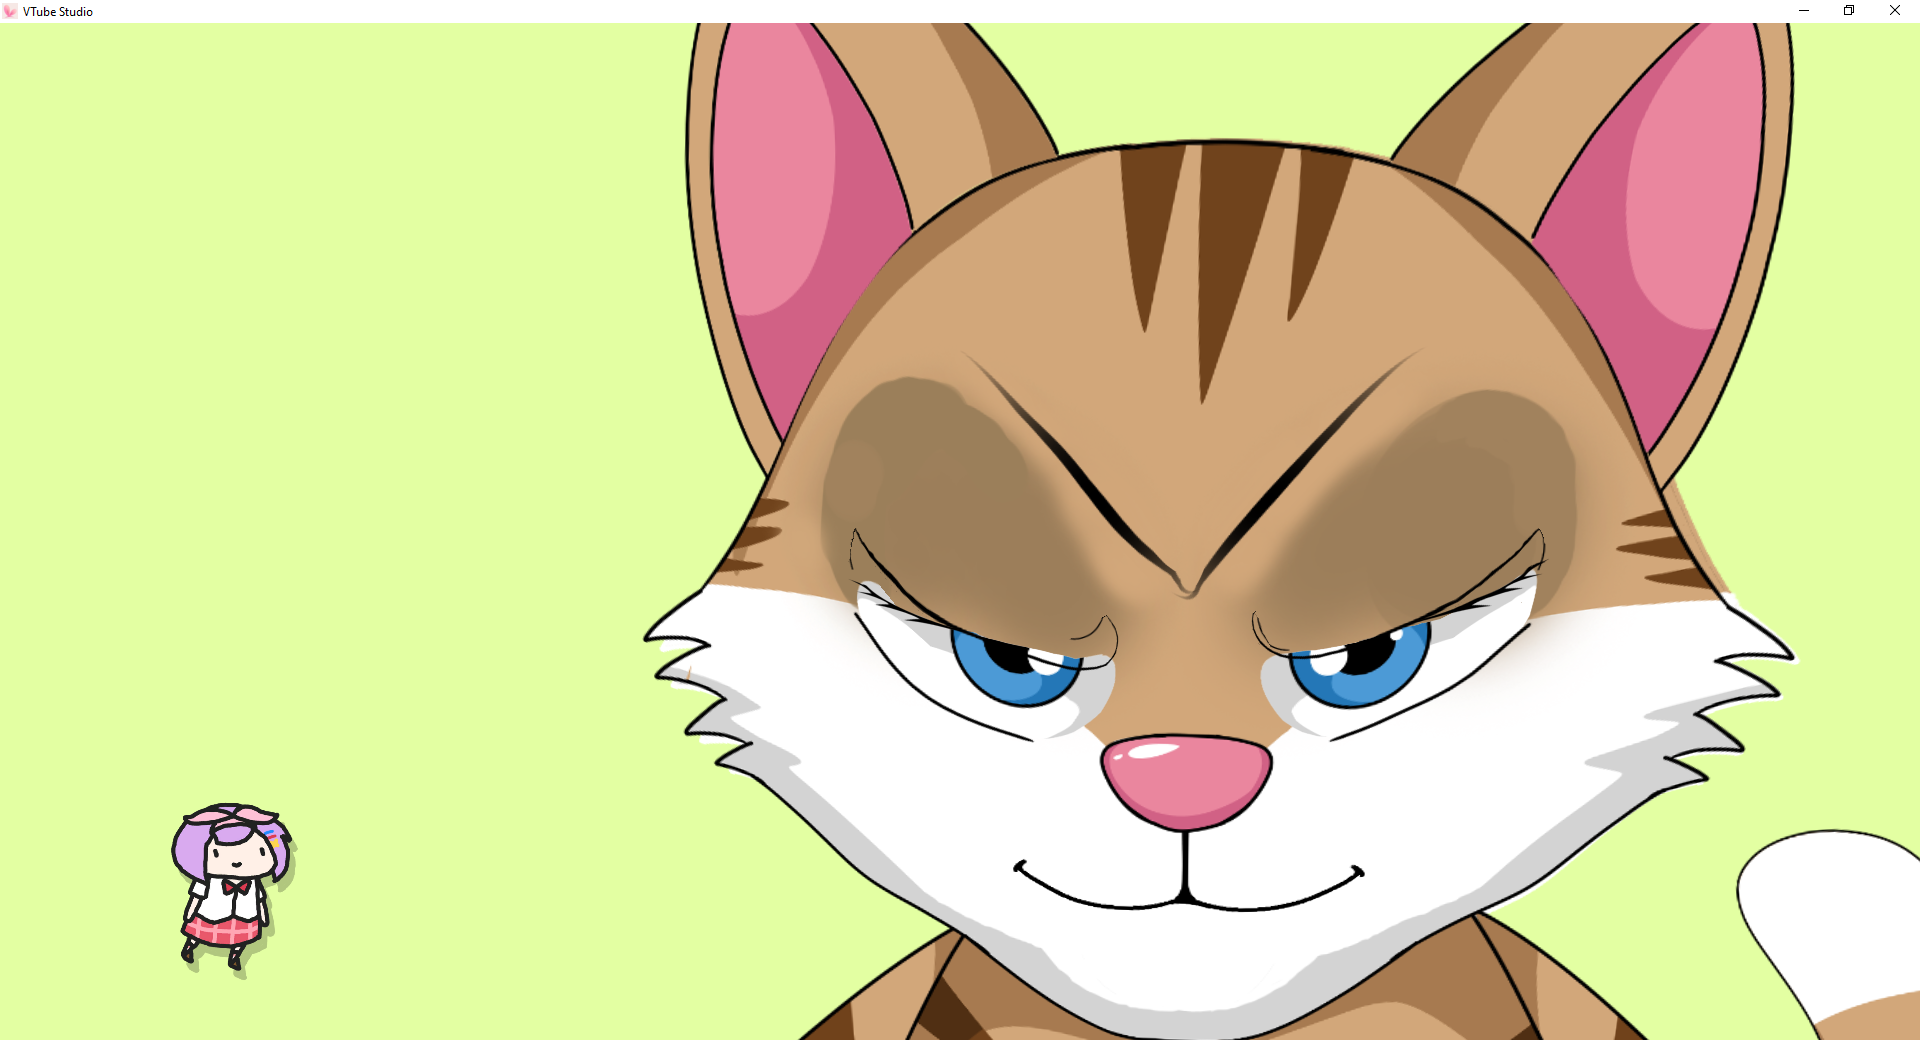
The cat above was created using Live2D, and I paid a rigger on Fiverr to do the hard parts. This can all be confusing, but let’s break down what you need to know to get started with motion capture animation.
How to get started with 2D and 3D animation
The first thing you need when starting any project is a plan. Having your plan up front keeps you from making costly mistakes on the backend.
For example, I didn’t know I needed layered drawings or anything on my first order. I didn’t understand how the psd file needed to be set up, and I didn’t understand the process.
So, here’s each step of the process:
1. Design your character

The first thing you need is a character, but it gets more complicated than that. The above file is a flat image, and any professional artist or graphic designer should know how to draw in layers.
This is done in Adobe Photoshop and illustrator for 2D animation. Personally, I rely on Gimp, which can output the same files.
You’ll find some artists who cut corners, but you really need someone dependable who will do it right for everything to work smoothly.
My poor rigger had to separate the first file (and do it again because his artist didn’t do it right). By the second character, I figured out the process enough to prep him with better stuff.
Here’s the layout of the first character, which is also the mascot for my company.

Every piece has to be its own layer – that means each eye separate, and even the pupils, eyelashes, and brows separated. The more you can separate, the better.
Vtube and other programs like VRchat apply these texture files to the animated models to make the magic happen.
For 2D animation, make sure you get a .PSD file with the following layers:
Face
To do the face, you’ll need a ton of layers. It’s probably the most detailed and difficult part to animate.
You need at minimum: upper lip, lower lip, tongue, teeth, mouth cavity, left eyeball, right eyeball, left upper eyelash, right upper eyelash, left lower eyelash, right lower eyelash, left eyebrow, right eyebrow, nose, and hair/ears. Label and group them properly for the best experience.
It’s a lot, and intricate hair styles rely on multiple layers for each strand to get movement.
Body
The body requires a separate layer for every joint. That means you need a neck, left and right shoulders, upper and lower arms, hands, and as many finger knuckles as you can stand to do.
You’ll want to build the character nude and add clothing as its own separate layer for the most natural movement. I only did the top half of the cat, as he’s going to spend his time sitting in a chair for vlogs mostly anyway.
If you’re using a 3D model, you’ll need an FBX or gITF file. I’m not as familiar with 3D animation, as I’ve only involved myself in 2D animation so far.
Next, we need to rig the character.
2. Rigging your character
The next step is to rig your model to prepare for animation. This is where you create meshes around each part you designed and assign them to different points that your face tracking software will read.

It’s done with either Cubism Live2D, Adobe Character Animator, Blender, or Animaze (formerly Facerig). I’m using Live2D because it’s the free version I have left while learning everything.
Many people use Blender because, like Gimp, it’s an affordable way to get your foot in the door. I’m not doing full-blown action animation though. I’m just vlogging with a character to match other streamers.
But don’t be fooled – behind the scenes is more active than on screen.
This is a long and laborious process that involves a lot of detailed work – there are 43 different mouth shapes alone, and that’s not even including each individual eye.
If you want to hire someone to do this for you, what you’re looking for is a rigger. Read carefully what a rigger provides and also be courteous to provide your rigger with as clean of a file structure to work with as possible.
The less your rigger has to guess, the more they can accomplish for you.
Here’s what the completed model files look like.

The base completed file for Vtube animation is a MOC3 file format. It also came with a variety of json files to help dictate the movements.
I also got several expressions – Angry, happy, and sad. These correlate to different shapes and positions of the facial features to provide a range of character emotions.

Of course, I quickly learned you can’t edit these files in Live2D. You could only upload it into the viewer.
In order to edit the animation, you need the CMO3 file. CMO3 file formats contain all the Live2D Cubism 3D model data.

If commissioning this work, make sure you get the proper PSD and CMO3 files. These are your master copies that can be edited down the road as you see fit.
I got the original files so that I can fill in the rest of the face chart myself. It’s crucial to cover the vowel sounds and basic emotional expressions to make it look smooth. Otherwise, you have a puppet that can only open and close its mouth.
Navigating the interface can be difficult, especially if you’re not already familiar enough with graphic design to know what to look for.
When you do get the hang of it, it’s actually kind of fun, especially when you complete a time-consuming process.
3. Design your background

Once you have your animated character, you’ll want to do a greenscreen on Vtube Studio, Animaze or Blender. This separates your character from the background and makes it easy to insert with a transparent background into your video.
You’ll also need backgrounds, which can be simple image files, the game you’re playing, videos, and more.
All sorts of fun effects are possible. What I choose for now is to create a home base, which I did using virtual 3D home design apps.
I put furniture, a computer desk, and some decorations into a large virtual studio I designed for free for River to sit in.

River isn’t actually sitting in the chair. It’s just an illusion of the camera angle I screenshotted the virtual room from. I took a couple other angles before my free trial ran out so I can switch up and show the studio behind the scenes.
From there, I just needed to set up to record and stream, which I was already prepared for.
4. Necessary equipment

Besides a computer, you’ll need some other streaming equipment. A decent webcam like the Logitech Brio (what I use) and Microsoft Lifecam (which I also used and tested) is necessary for face tracking.
That will put you back $200 but you’ll look great on Zoom calls and can accomplish the highest detail face tracking.
Lower quality webcams will have difficulty tracking your face, so get a high quality one.
You’ll also want a quality vocal microphone. Podcasting microphones work great, and here’s some more info about the audio equipment I use on various platforms.
Stream Deck is a great way to rig some simple macros to make your life easier on a stream, and I have a Rode USB microphone and a cheap LED ring light from Amazon to complete my studio setup.
Even though it’s animation, I’m doing much of the same I did for live action. Except only my voice is being broadcast. In that aspect, it’s like podcasting from my end and a movie on the viewer’s.
Of course, I’m still only about a quarter of the way to smooth animation. I still have to do the body and remaining facial expressions for the vowels.
But I’m already broadcasting, which is the final step.
5. Broadcasting and streaming

The final step is streaming or recording your show, which I’m doing on Streamlabs OBS. This gives me overlays and the ability to Livestream on multiple platforms simultaneously.
I have it set up for YouTube, Twitch, Facebook, and LinkedIn, with the Discord community notified anytime I go live.
Much of the “animation” and effects I do from that point are controlled by Streamlabs. There are other recommended services like Streamyard I heard good things about but haven’t tried myself personally.
I’ve noticed Streamlabs also provides free link pages from Willow, which is similar to Linktree and others I’ll review sometime this year.
Subscribing to Streamlabs Prime gives me access to monetization possibilities too. They are trying to insert themselves into the Twitch streaming revenue possibilities by partnering with Ninja’s brand representation company.
Whatever you choose, multicasting is a great way to cultivate an audience and maximize your content’s value.
Create more content
That’s pretty much all it takes. Once you have everything set up, you simply need to keep using your avatar to create great content for your audience.
It may take time to build that audience, but you’re better off trying with animation than trying to compete with million-dollar Hollywood budgets with just a grainy webcam video.